
This article will guide you on quickly empowering your VitePress documentation site with AI conversational capabilities using an open-source tool Documate. This will allow it to answer your users’ questions based on the content of your documentation, supporting streaming outputs.
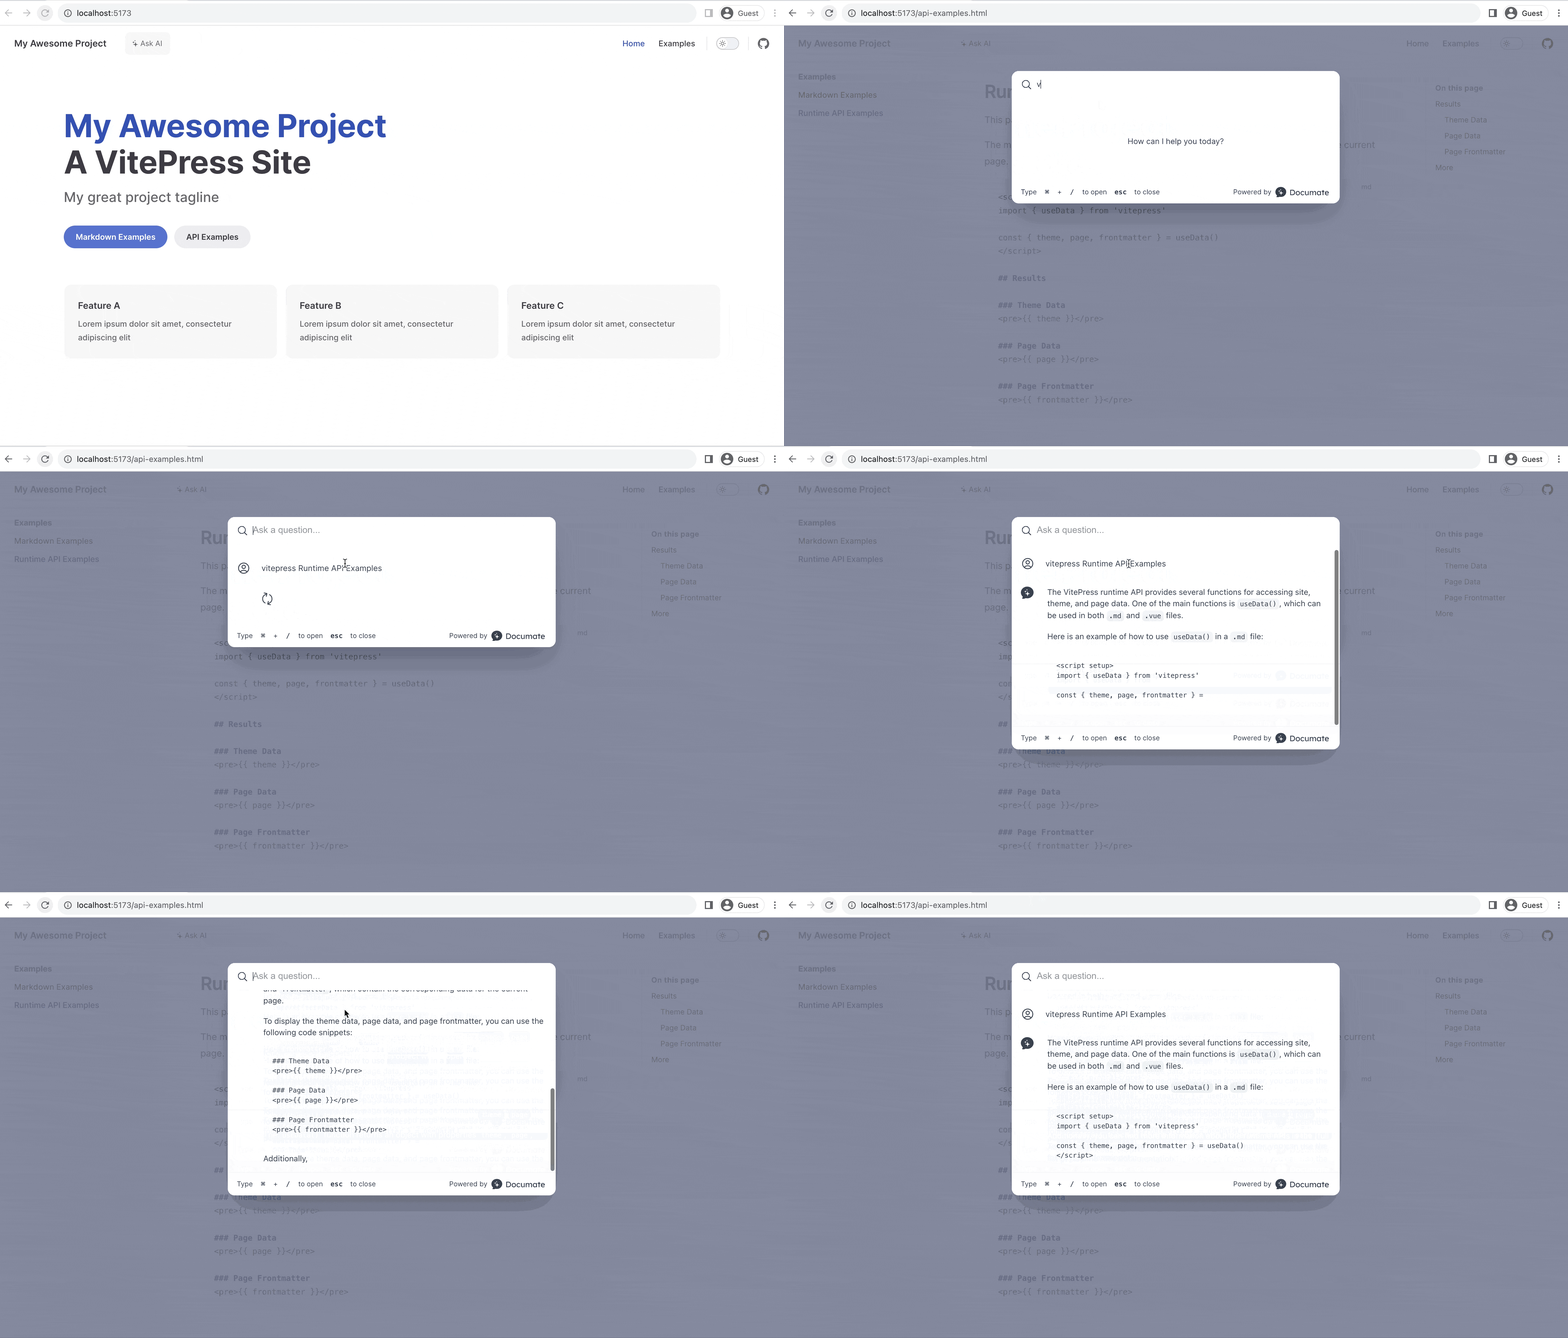
The complete source code of the project can be viewed at this link.
Integration Steps
If you want to create a brand-new VitePress project with AI conversational capabilities, use the command below:
npm create documate@latest --template vitepress
After creation, jump directly to step 3, “Build, Upload, and Configure the Search Backend API.”
To add AI conversational capabilities to an existing VitePress project, follow these steps:
1. Initialization
Run the following command in your VitePress project root directory to initialize:
npx @documate/documate init --framework vue

This command will create a documate.json configuration file.
{
  "root": ".",
  "include": [
    "**/*.md"
  ],
  "backend": ""
}
A documate:upload command will also be added, which is used to upload documents to create a knowledge base. I will explain its specific usage later.
{
  "scripts": {
    "docs:dev": "vitepress dev",
    "docs:build": "vitepress build",
    "docs:preview": "vitepress preview",
    "documate:upload": "documate upload"
  },
  "dependencies": {
    "@documate/vue": "^0.2.3"
  },
  "devDependencies": {
    "@documate/documate": "^0.1.0"
  }
}
2. Add UI Entry to the Project
Add the following code to the file .vitepress/theme/index.js. If it doesn’t exist, you need to create it manually. VitePress introduces how to customize your own theme in the Extending the Default Theme documentation.
import { h } from 'vue'
import DefaultTheme from 'vitepress/theme'

// Load component and style
import Documate from '@documate/vue'
import '@documate/vue/dist/style.css'
export default {
  ...DefaultTheme,
  // Add Documate UI to the slot
  Layout: h(DefaultTheme.Layout, null, {
    'nav-bar-content-before': () => h(Documate, {
      endpoint: '',
    }),
  }),
}
The above code will add an AI chatbox UI to the navbar. After launching the service locally using npm run docs:dev, you can find the Ask AI button in the top left corner. If you don’t see the Ask AI button, check to ensure all the above code has been added correctly and that you’ve imported the CSS style file from @documate/vue/dist/style.css.
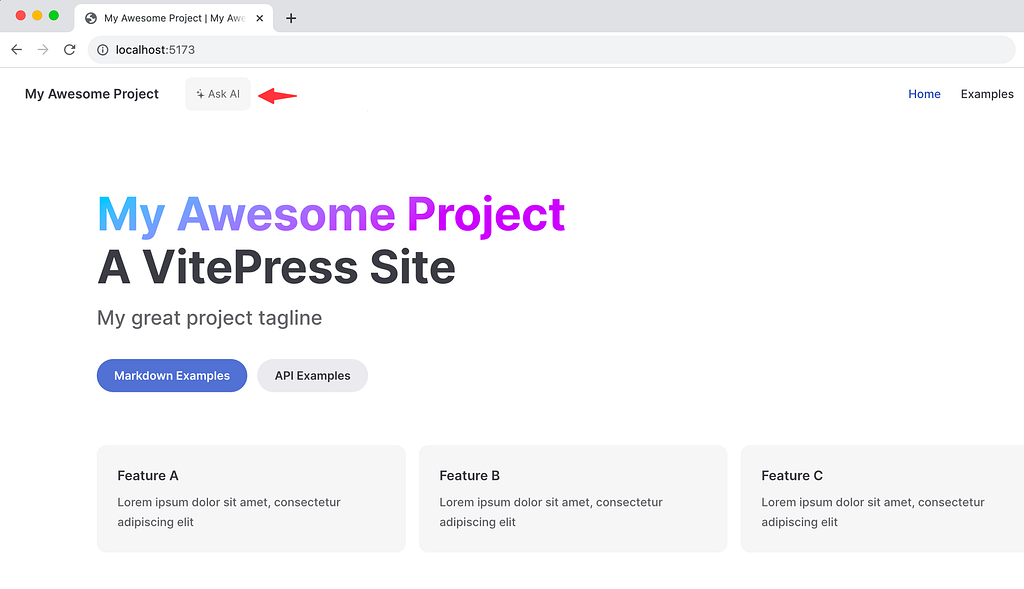
Now, you have successfully integrated the UI. Next, we’ll add the interface capability for the chat box to answer questions.
3. Build, Upload, and Configure the Search Backend API
Documate’s backend code is used to upload document content to create a knowledge base to receive user questions and return streaming answers.
Go to the backend folder on GitHub and click on “Deploy to AirCode” to quickly copy and deploy your own backend code.

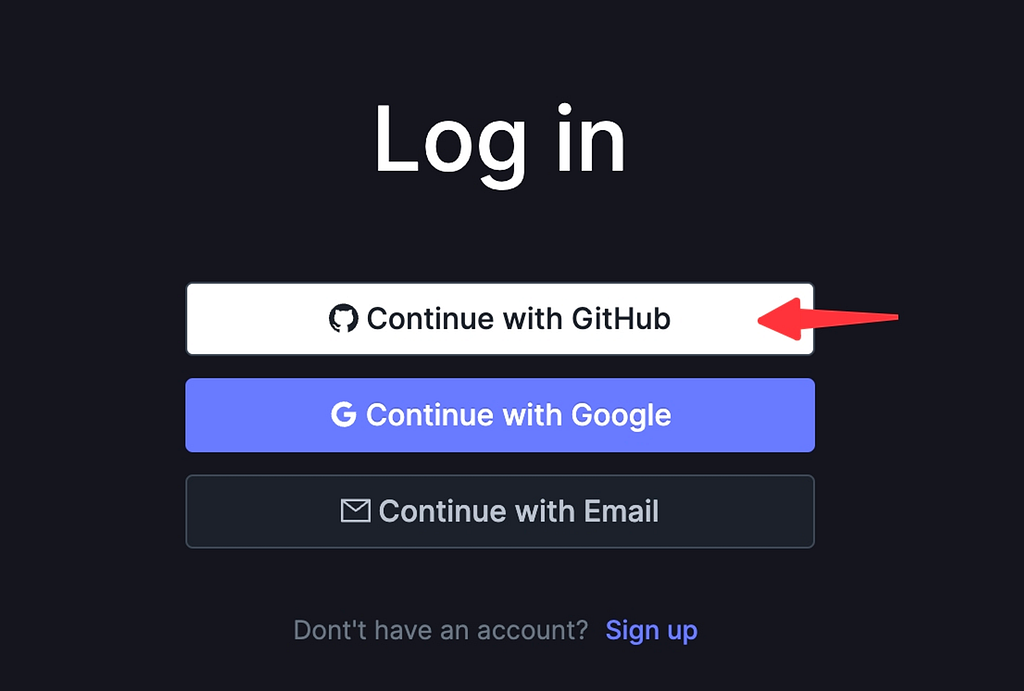
If you use AirCode (an online platform for writing and deploying Node.js applications) for the first time, you will be redirected to the login page. It is recommended to log in with GitHub for faster access.
After creating the app, set the OPENAI_API_KEY environment variable in the Environments tab to your OpenAI Key value. You can obtain the API Key from the OpenAI platform.

Click the the “Deploy” button on the top bar to deploy all functions online. Once deployed successfully, you will receive URLs to call each function.
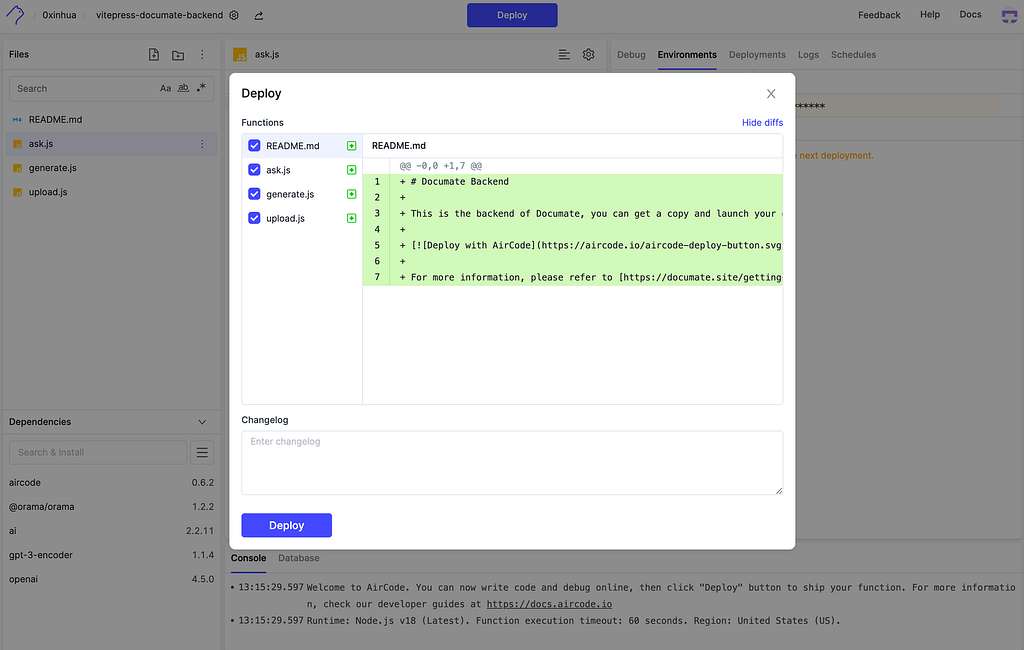
Here, we will use the upload.js and ask.js functions, one for uploading document content and the other for answering questions.
4. Set Up the API Endpoint
In the AirCode Dashboard, select the deployed upload.js file, copy its URL, and add it to the backend field in documate.json.
// documate.json
{
"root": ".",
"include": [ "**/*.md" ],
"backend": "replace to your upload.js URL"
}
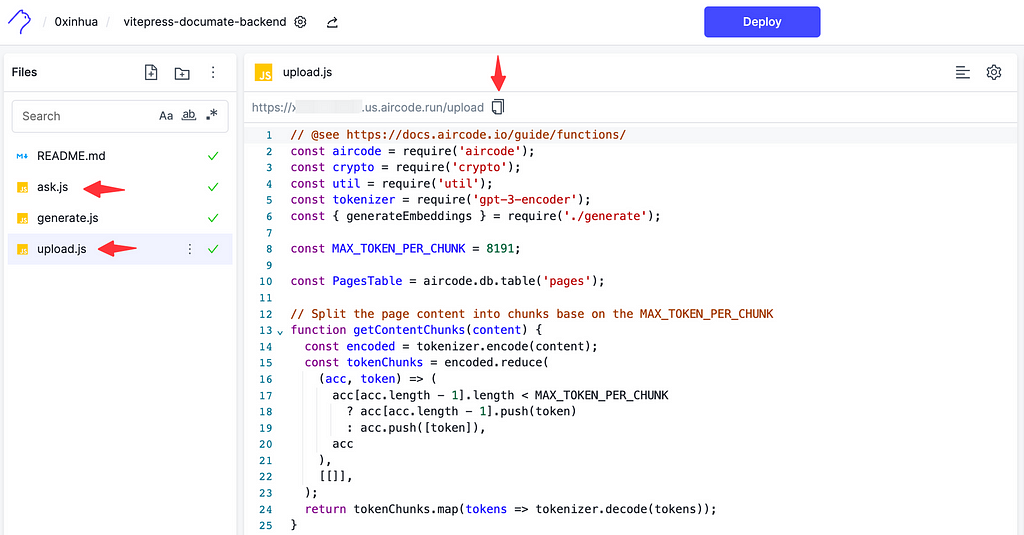
Similarly, in AirCode, select the deployed ask.js file, copy its URL, and modify the endpoint value in .vitepress/theme/index.js.
// .vitepress/theme/index.js
import { h } from 'vue'
import DefaultTheme from 'vitepress/theme'
import Documate from '@documate/vue'
import '@documate/vue/dist/style.css'

export default {
  ...DefaultTheme,
  Layout: h(DefaultTheme.Layout, null, {
    'nav-bar-content-before': () => h(Documate, {
        // Replace the URL with your own one
        endpoint: '替换为你的 ask.js 的 URL',
      },
    ),
  }),
}
5. Run the Project
Use the command below to upload the content to the backend and generate the documentation knowledge base:
npm run documate:upload
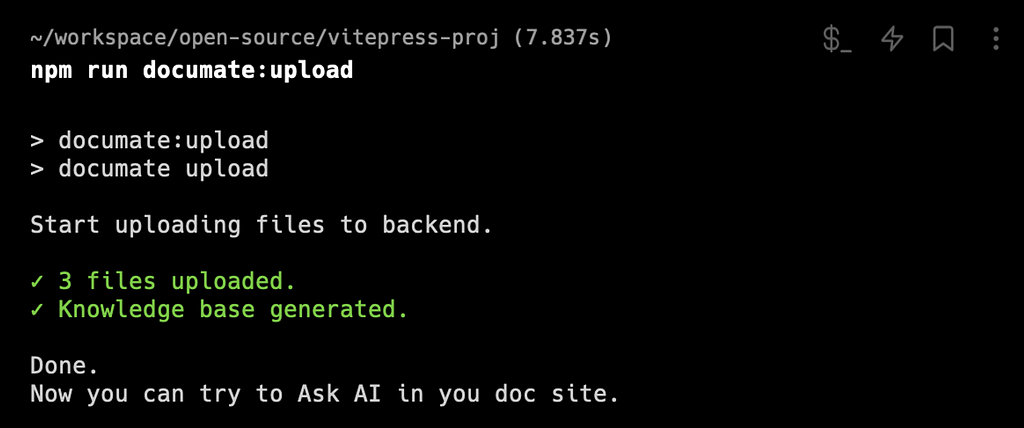
Once the command completes, launch the project locally, click the Ask AI button in the top left corner, enter a question in the pop-up dialog box, and receive answers based on your documentation content.
npm run docs:dev
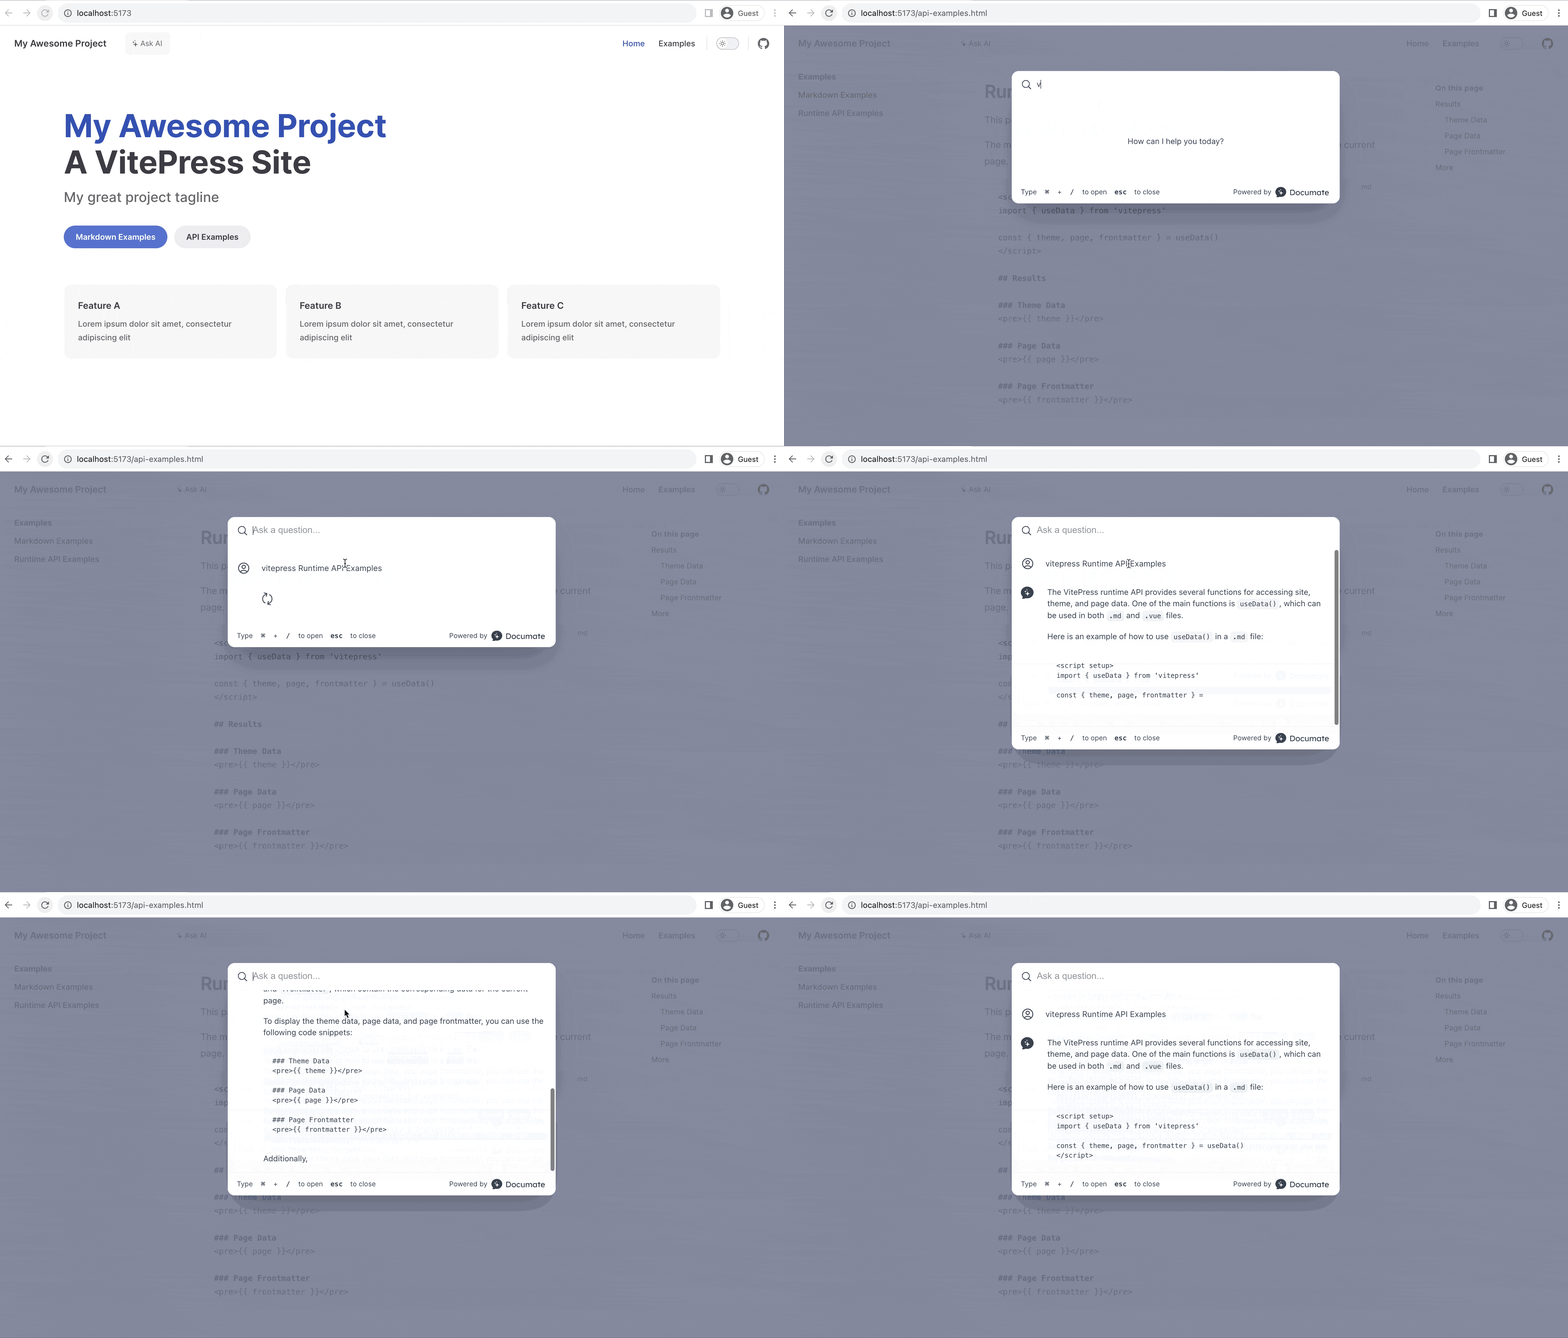
For more usage and configuration methods, please refer to the Documate project on GitHub. Comments and discussions are welcome.
Add AI Chat Dialog to Your VitePress Documentation Site was originally published in Better Programming on Medium, where people are continuing the conversation by highlighting and responding to this story.