Firmware Updates That Don’t Suck

Since 2017, we’ve shipped over 250,000 Arsenals (an AI photography assistant for DSLR/mirrorless cameras).
Being a small company, we didn’t have the customer support resources to walk users through the update process. Updates need to work, be fast, and be 100% resilient. Here’s everything we did to get there and some tips for anyone trying to do the same.
Arsenal 1
When building Arsenal 1, we time-boxed the firmware update “feature.”
We had so many things to do, we had to be OK with good enough. Spoiler: It wasn’t until Arsenal 2 that we had the time to get everything right.
What we needed
I did a lot of research in 2017, and there weren’t any good off-the-shelf solutions that met our requirements. Our perfect update system needed the following:
- designed for Linux, not microcontrollers (Arsenal runs Linux on an arm processor)
- fault-tolerant. No way to brick a unit (surprisingly, not something most off-the-shelf solutions provided)
- updated over Wi-Fi (from our mobile app)
- minimal disk overhead (no duplicates of the whole firmware image)
- fast updates
A lesson in what not to do
The camera industry is a classic example of terrible update experiences. Most cameras require you to navigate a website, find your camera model, download a firmware binary, put it in a specific path on the SD card, insert the SD card in the camera, and then update through the camera menu. It’s a struggle for the user, but to be fair, it is simple to engineer and seems resilient.
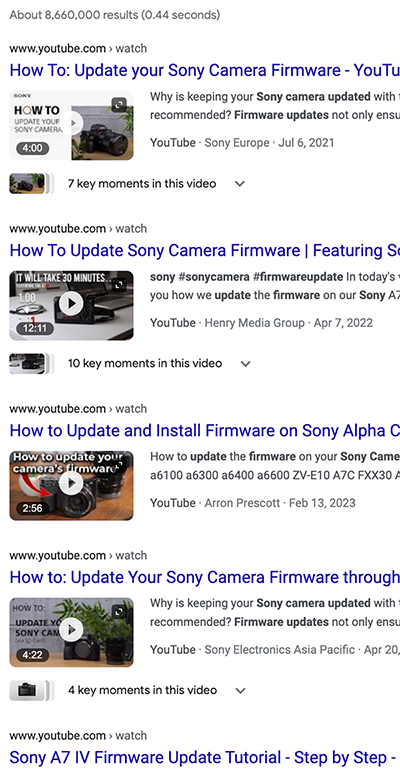
Sony is probably the worst example of bad updates. Instead of the SD card workflow, most cameras require you to install a custom driver and kernel extension (yes, you read that right) on your Mac/PC to talk to the camera over USB.

With Arsenal, we wanted to raise the bar.
Arsenal 1 firmware build
We were racing against a deadline to ship Arsenal 1, so moving fast was the top priority. Our embedded/Linux engineer and I brainstormed a few options to implement a more production firmware build process.
For Arsenal 1, we created a simple build process based on Arch Linux and bash scripts.

Our build process involved the following:
- configure and build our Linux kernel and drivers
- install a stock Arch image on the board — along with our custom kernel and drivers
- install our dependencies with pacman and gcc
- remove the build-related dependencies
- copy our software to the disk
- image and compress the disk image (The firmware image was just a tar of our disk image)
The whole thing was glued together with bash scripts. Not the most elegant, but it worked. And more importantly, we got it built quickly.
Disk overhead and operation never brick

Embedded firmware images are usually really small, so a common technique is to have two partitions on the disk. You write the new image to one partition, then flip to it after a successful update. If something goes wrong, you don’t flip.
Our firmware images were huge, so we had no disk space for two copies of everything. Instead, we created a minimal image (using openembedded) that only had the firmware updater, USB/wifi drivers, and an HTTP server to upload to. We called this the “recovery image.”
“Recovery” sat on a small partition at the start of the disk. After that, there was the root partition for the main firmware image and then a user partition for all user data.
We made the recovery image and root partitions read-only so things like overflowing log files wouldn’t cause boot issues. Storing all user data (in our case, image caches) on the user partition meant a full user disk wouldn’t affect the actual boot, and our device code could clear the cache on boot even if we coded something wrong. (Which I assure you never happened, not even once.)
This kind of defensive design saved us a few times. Just assume you will screw something up at some point and try to design a firmware update process that can handle some screw-ups.
Handling screw-ups
Even with the precautions on the main firmware/root partition, I knew mistakes would be made. So, we needed to be able to handle a failed start on the root partition. Either from a bad disk write, corrupted bits, or the software getting into a bad state (from a bug), we needed failed boots of the root partition to be recoverable.
Automatic failover
The recovery image was very small and targeted, so we decided if something went wrong with the root firmware boot, we would fail over to the recovery partition. From there, you could reupload the firmware image and be on your way again. To be safe, recovery updates clear the user partition, but Arsenal has very little on-device state, so for users, it’s not an issue.
You might wonder how you can be sure the device will flip over to recovery if something like a bad disk write happens. This is where hardware watchdogs come in. The hardware watchdogs are set up by uboot.
After the root partition boots (takes about six seconds to boot), our software has 30 seconds to disable the watchdog. If the watchdog isn’t disabled in 30 seconds, the unit will reboot. After three failed boots, it kicks over to recovery. (Check your processor’s data sheet for details on how to set up these watchdogs.)
Simple but effective. From the mobile app, we can treat recovery updates like normal updates.
The important thing with hardware watchdogs is that they are implemented in hardware (funny how that works). No amount of software mistakes (except accidentally disabling the watchdog) will prevent the reboot. Only the happy path, in our case, prevents Arsenal from entering recovery.
Recovering recovery
OK, so what happens if the recovery image gets corrupted? Our recovery image is about 10 MB, so we just did the obvious thing and added a second copy of the recovery image, again with a watchdog to failover and boot the second image. These images are actually files on the recovery partition, which uboot mounts as a read-only file system.
I don’t have any metrics on how many times having the second copy of recovery has saved us. Data on the frequency of cosmic ray-induced bit-flips and some napkin math says it has happened. We have yet to get back a unit that wouldn’t boot into recovery.
Version locking
As a user, you mostly access Arsenal via a mobile app. To simplify things, I decided early that the mobile app should only connect if the device firmware version matched the mobile app version. (Otherwise, you go from a single app/device version that needs to be tested to a matrix of version combinations to test.)
On Arsenal 1, when the mobile app updated (which happens automatically on phones), the mobile app would see the versions didn’t match and require you to download and install the firmware update to continue. The process was fairly smooth, though automatically disconnecting and reconnecting wifi required a ton of debugging work and Wi-Fi driver fixes (especially to deal with Android)
ASIDE — HERE BE DRAGONS: Even today, Android’s Wi-Fi stacks are up to the phone manufacturer, and the quality of drivers and even implementation of the core Android Wi-Fi APIs are very poor. If you need automatic Wi-Fi connections to an Android device, be prepared for a lot of pain as you purchase and debug issues with how your Wi-Fi chips’ drivers communicate to any of the 30,000+ unique Android phones.
The missing requirements
Arsenal 1’s firmware update process had a huge flaw you may have already seen. If your mobile app updated (as happens in the background), and you weren’t on the internet when you opened the new version, you couldn’t download the firmware and connect.
Our firmware images were 500 MB, so you needed a good internet connection and a free data plan. Even if you were on Wi-Fi or had cell service, waiting for the update to download while the good light was fading made for unhappy users. (DJI and GoPro had the same issue in their apps then.)
This was a much harder problem to fix than you might think. In a perfect world, we would have blocked automatic app updates for our app, but that’s not an option.
For Arsenal 2, we added two more requirements for our firmware updater.
- either have offline update support or allow non-matched version connections
- updates in less than two minutes, start to finish (“door to door,” as we call it, which is the time from pressing update until you’re connected to the updated Arsenal)
Arsenal 2
Offline updates
The < two-minute update requirement seemed like an impossible hurdle. Arsenal 1 updates took about eight minutes. (ugh) To get to <2, we would need to rebuild every part of the system, but we’ll come back to that.
First, we debated if we could somehow handle the testing of unmatched mobile and device code versions. We thought about only supporting connections from five versions back, then requiring an update if it was older. This would still mean 5² = 25 combinations to test on each release. (And multiply that by the 100+ cameras we support.) QA already took weeks, so I nixed that idea pretty quickly.
Our only option was embedding the firmware in the app itself. When we built Arsenal 1, the amount of available storage on phones (especially iPhones) was really limited. Users told us a 550 MB app was a non-starter. So, we opted to download the firmware image when you needed it.
A lot had changed by Arsenal 2 (2020). I checked my phone; I had four apps, all taking up more than 500 MB. I had honestly never noticed. Users were still telling me that 500 MB was too big, but I decided to try embedding the firmware and see how many complaints we got.
Our #1 complaint on Arsenal 1 was blocked connections when a firmware update was needed, and you were offline, so we didn’t have a ton to lose.
Shrinking the firmware
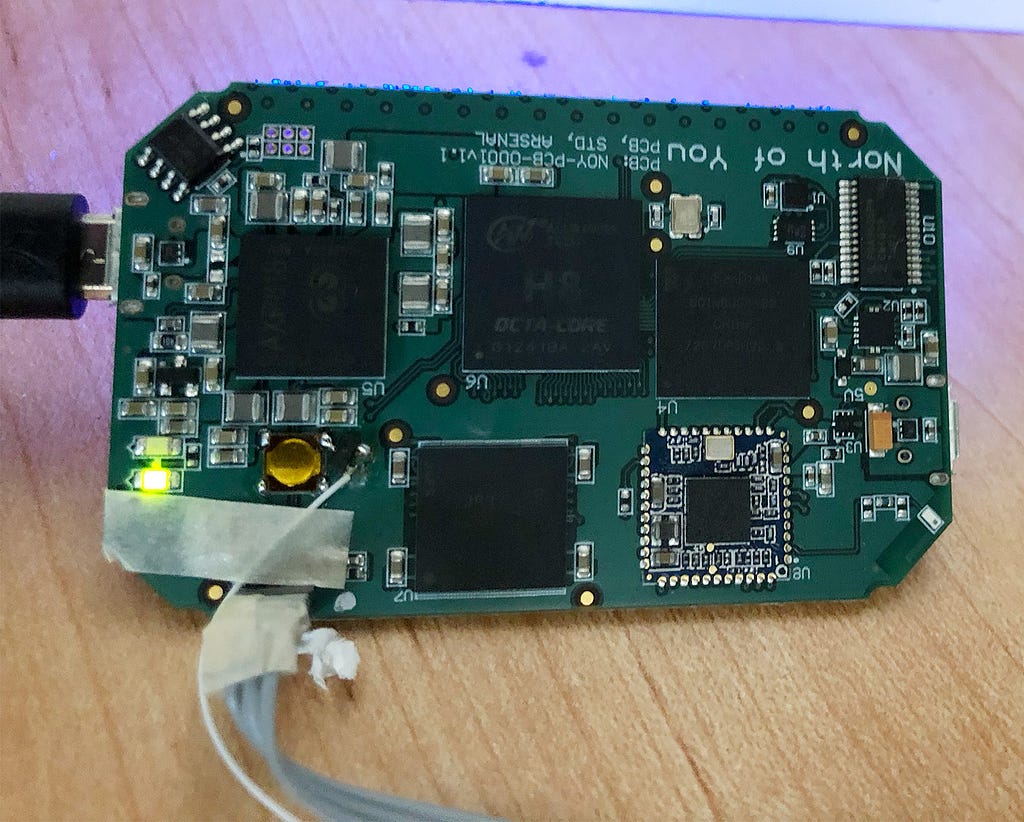
I never liked the firmware build process for Arsenal 1. I had managed to integrate it into our CI pipeline, but it ran on a physical unit that booted into a DFU-type mode. We needed to send a special sequence to a pin on the board to get it into the DFU mode, so we wired an FTDI controller to the pin and flipped its GPIO pin to send the sequence. (#hacky)

For Arsenal 2, firmware/software builds needed to be:
- faster (Arsenal 1 builds took hours)
- repeatable (Arsenal 1 builds were downloading things from pacman and GitHub during the build. Not good)
- more compact. The Arsenal 1 image was 500 MB. About 250 MB of that was machine learning models. The rest mainly was Arch Linux and the rest of the binary dependencies.
Our Linux/embedded engineer had worked with yocto and openembedded before. These projects let you build a custom Linux distribution with exactly what you need (and nothing you don’t.) They can even strip out unused symbols from binaries and do some other space optimization tricks.
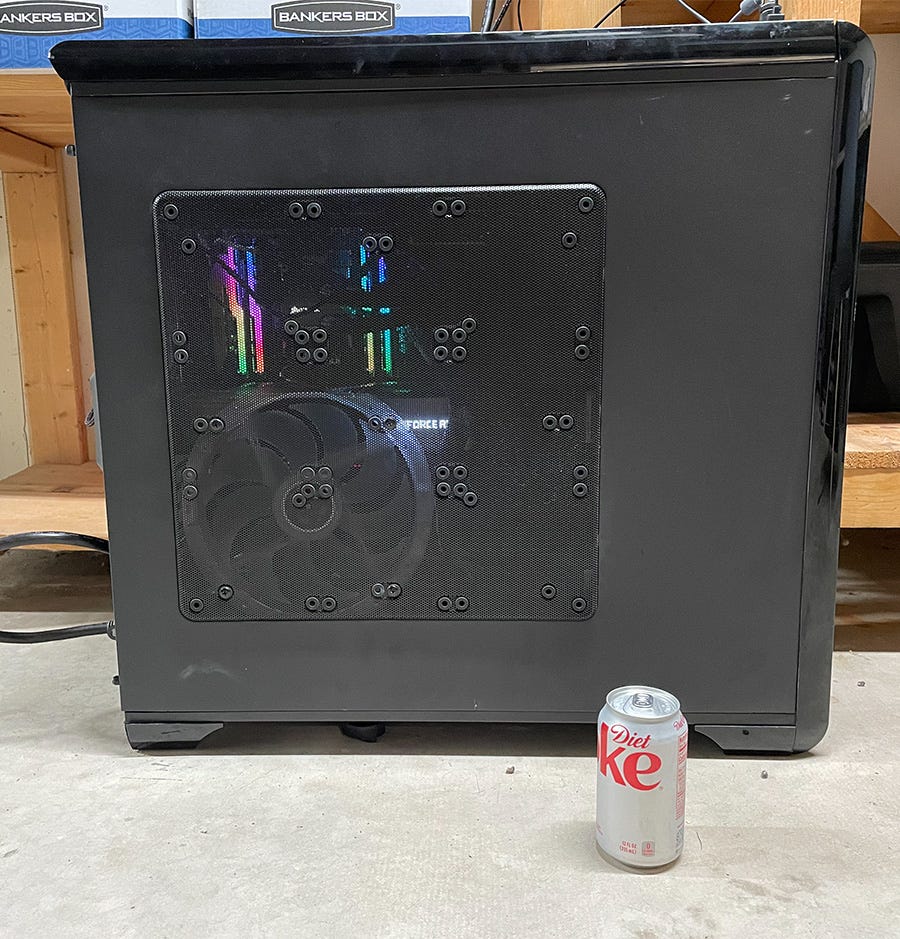
They are really powerful, but not for the faint of heart. If it had just been me, I would opt for something like buildroot. The great thing about these projects is that they cross-compile every package, so you can run the build (in parallel) on a large machine. My physically massive — 64-core, 256 GB machine learning machine would do fine.

Also, my favorite thing about openembedded is that there’s some container/chroot jail type stuff that happens during the build, and inside of that is a fake sudo type command that’s named pseudo Best name ever.
It took our embedded engineer a few months to get everything moved over, but once we did, we ended up with a firmware image that was <50 MB with all of our dependencies. A 5x space savings. Not bad. There was still an additional 250 MB for the machine learning models. The smaller image made for a 2x faster boot. And lastly, openembedded brought our build time down to about ten minutes.
Compressing the hell out of it
The challenge with Arsenal 2 was that we had both a Standard and a Pro version. The Pro version ran a different Arm architecture than Standard, so we must embed both firmware images into the mobile app.
We were looking at about 300 MB per firmware image with gzip compression.
Faster install times
The 300 MB of firmware image would upload in about 45 seconds, giving us one minute 30 seconds to install the firmware and reboot. With gzip compression, the install time was … five minutes. I benchmarked the disk and figured out the bottleneck was decompression performance. Moving to parallel gzip decoding improved things, but not enough.
I spent a day building a script to test every compression format I thought might work well on our hardware. (I tried gzip, bzip, deflate, snappy, zstd, and blosc.)
The TL;DR is zstd won. The compression times were much longer, but all that mattered for us was the decompression times and compression ratio. Zstd’s decompression uses SIMD instructions on ARM, and decompression time doesn’t increase as the compression level goes up.
Zstd took our 300 MB image with light gzip compression to a 220 MB image with very high zstd compression.
The smaller image and parallel decoding reduced our install time to one minute, and the smaller image shaved the upload time down to about 30 seconds. Disabling TCP-slow start for the firmware upload connection got it the rest of the way.
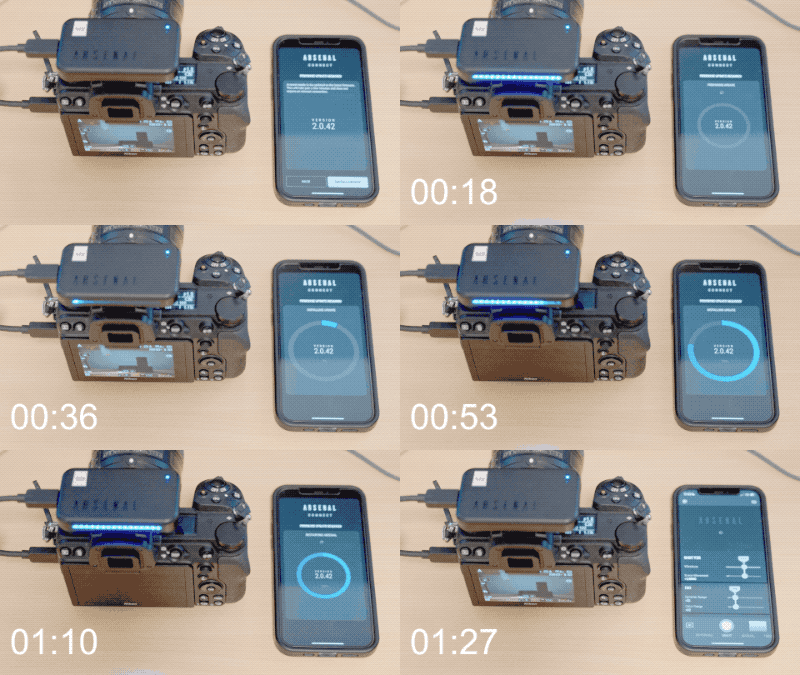
After months of work, we had a firmware update that took 1 minute 30 seconds from when you push the update button to when you’re reconnected on the new version.
The moment of truth
We had sent out a few hundred Arsenal 2s to some early testers. The first version had the old Arsenal 1 installer. We pushed the new app version with the new installer when it was ready. Then we waited…
I knew that embedding the firmware was our best option, so I was ready to defend why we had to make the app 500 MB.
The messages started coming in, but not the messages I thought. It was all positive feedback about how fast the update process was. To this day, the number of complaints about app size is less than 10. (I’m not sure this would have been the case in 2017, but since the app downloads in the background, most people never even look at the size.)
Summary
Firmware updates are a seldom discussed area of building hardware products. The quality of your update process can have a huge impact on how your product is received. Here’s what worked for us:
- openembedded for building firmware/disk images
- zstd for fast decoding and high compression on ARM hardware
- embed the images into the mobile app
- recovery images and hardware watchdogs for safety
If you’re about to build or integrate an existing firmware update solution, I advise you to allocate enough dev time. Firmware updates can seem like something easy from the outside, but once you dive in, there’s complexity hiding under every corner.
Be sure to program defensively and make sure your system can handle shipping a main image that will fail to boot under some conditions.
Firmware Updates that Don’t Suck was originally published in Better Programming on Medium, where people are continuing the conversation by highlighting and responding to this story.