Apple has introduced a new file format in which we can manage our localization files easier than before. Let’s see what we have

Note: String Catalogs work with Xcode 15. They don’t have a minimum version required and work on any OS.
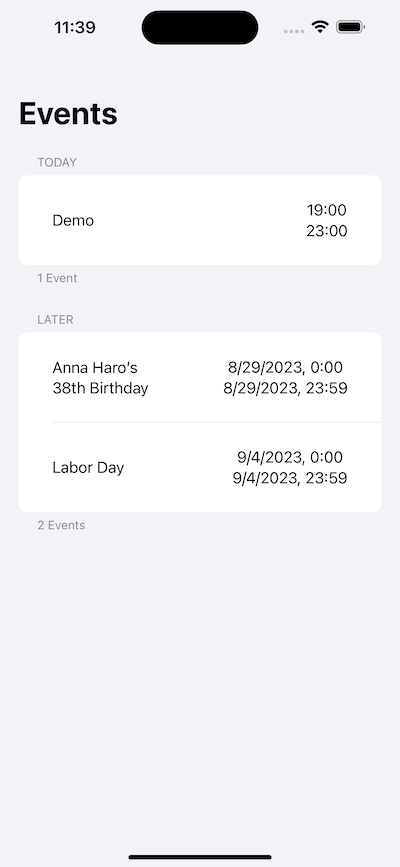
For this article, I created a new app called “SimpleCalendar.” We’ll show the next events for the user and handle some cases, such as if the user has any event today or not. Let’s have a look.
Code
First, I created an EventManager. It’s an observable class in which we can track the events and feed the events into the user’s feed if the user allows us.
Now, we need to turn localization on in our project. For this, you’ll head to the project file and select Project(not Target).

There, you’ll see the Localizations tab and a plus button. I’ll add the Turkish language to this app. The default is English, but you can always change the default language after adding another one and remove whatever language you might not want to support.
Now, you need a localization file. Hit the cmd + N shortcut, or click the plus button on the bottom left of the app. You may see the following three options to add strings:
- Strings file
- Stringsdict file
- String Catalog
We’ll choose String Catalog. If you have a current project with string files or string dictionary files, you can select all, right click and hit “Convert to String Catalog.”

I leave the default name to “Localizable.” You can define other names too, but Localizable is better to keep and is scanned by Xcode automatically without specifying any table name to Xcode later. Now build the project(cmd + B). Did you realize that Xcode created a new string automatically? It’s because now, Xcode will always follow your code on build and create/update your string catalog automatically.


Let’s introduce you to the catalog. We have four columns in the base language and five columns in the second language. Here’s what that looks like:
- Key →Defined by us. As you see, the default key is what Xcode finds.
- Default Localization/English(en) → Default value for the base language. Key is the default one, and you can change that later.
- Turkish(tr) or any other language → translated strings waiting to be filled by you. The default is the base language.
- Comment → an optional comment place where you define the explanation of the string. It could be useful to write “what this string” will do or where it’s used for others to understand.
- State → This shows the status of the string. There’s a couple of options:
- New → It’s been added by Xcode or you, and no translation has been made yet.
- Done Emoji (✅)→ It’s been translated. This will fill the percentage on your language status on the left bar.
- Needs Review → The base localization has been changed, and you need to check the translation to see if it’s still correct. You can right-click any string and either “Mark for Review” or “Mark as Reviewed” to change the status. If you edit the translation, it will turn into the done state automatically.
- Stale → This text’s key has been changed/deleted. You can press the delete key on the line to delete it from your catalog.

So, how can I show Xcode my strings?
In SwiftUI, all views that have a localizedKey initializer are added, e.g., Text(“My Text”) or Button(“Done”) { }.
In Swift, String(localized: “My Text”) or NSLocalizedString(“My Text”) will be translated.
Interface builder supports this automatically on UIKit apps.
Can I use my key style?
Of course, whether you use my_key or my-key or “Direct Message”, Xcode will take all of them as the key. Also, you can always add a manual key from the catalog file.
How can I vary plural cases?
When you click the string cell and right-click, you can vary by plural. This will create a singular case and multiple cases for you. You need to have a variable with the strings to create the plural case, such as %@ or %d.
How will it work with Info.Plist localizations?
Better than before, just create a catalog named InfoPlist. Then, when adding your key to the Info.Plist file, you can get the raw description of it and use the key in your catalog by manually adding it.

Now we can complete our app with this new system.
App
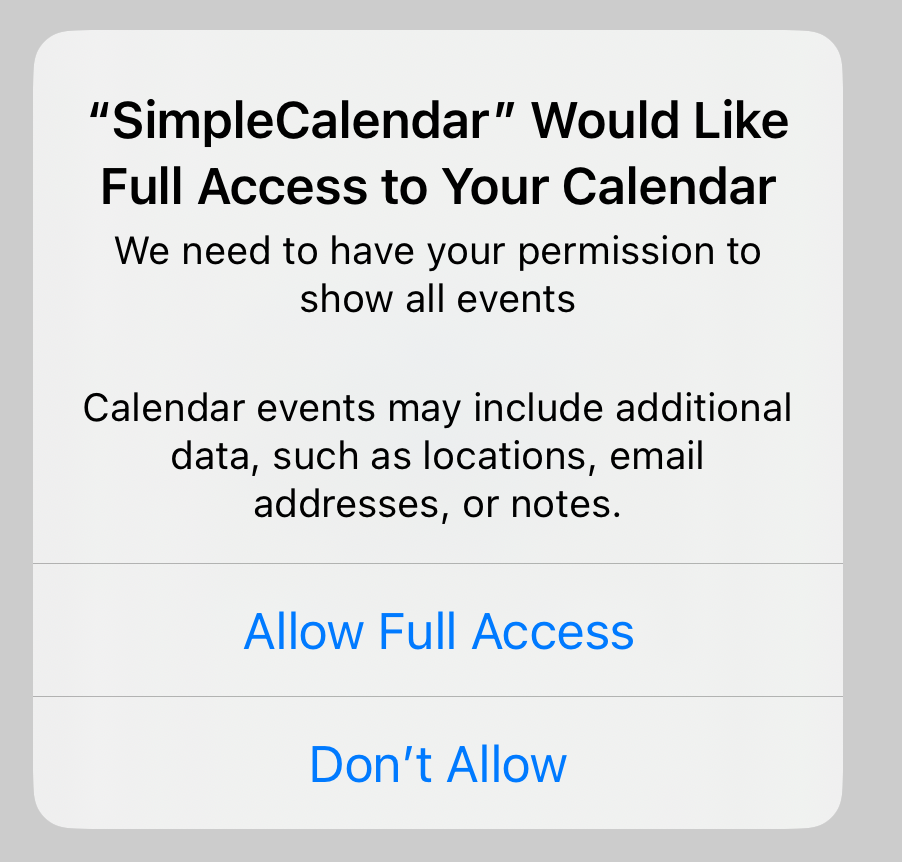
The app asks the user for full calendar access. Full access is required if you’re going to list users’ events. If your only concern is to add events to users’ calendars without listing them, you can apply for “write-only” access, which came in iOS 17.
Next, it checks the events, and if there’s no event, it will display no event text.
There are two sections in our lists, one for today’s events and one for the later events. We show a footer of the event numbers in total(to use plural translation).
TodaysEventView
LaterEventsView
As you see, we use (int) Events text. This will appear in the translation %lld Events. You can right-click and select “Vary by Plural.” We’ve added cases for zero-one and many. In Turkish, words don’t change in any case, so the result looks like this:

We’ve also added an event detail view on tap. We can achieve this by adding a UIViewRepresentable for EKEventViewController and passing our EKEvent.
Lastly, our empty view expects a LocalizedStringResource instead of Strings to be recognized by the String Catalog.

You can find the repository here.
String catalogs are extremely easy to implement and way better than what we used on the strings. I’m not sure if every project will adopt that, but the migration is very easy. Since the file is actually a JSON, it will be easier for third-party developers to share/import strings into their projects. Maybe tools such as SwiftGen could apply this feature. Who knows.
Xcode 15: Welcome String Catalogs was originally published in Better Programming on Medium, where people are continuing the conversation by highlighting and responding to this story.